Creating a web link

Web links can be created in Blackboard, which users can click on to access online content (eg. online documents, websites). Below you will find instructions on how to add a web link to your Blackboard space.

- Check that Edit Mode is set to ON. If Edit Mode is off click to toggle from OFF to ON.

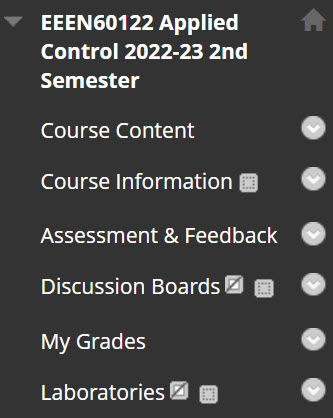
Open the area within Blackboard that you’d like to add the content to. For example, Course Content, Assessment and Feedback.

- Hover over the Build Content tool menu to reveal menu option

- Select Web Link.
Setting up your web link
In the Create Web Link window enter information as follows:
Web Link information:
- Name: Enter a name for weblink.
- Colour of Name: Can be left as the default colour black.
- URL: Enter the full url address of the resource that you want to link to. This could for example be a website (https://www.teachingcollege.fse.manchester.ac.uk/) or online document (https://documents.manchester.ac.uk/DocuInfo.aspx?DocID=11265 )
- Text: It is optional to enter a brief description of the web link contents in the text box. The description will appear below the weblink.
- Attachments: It is optional to add file attachments. File attachments will appear underneath your weblink. Users can click on the files to open individual attachments.
- Web Link Options: Open in a New Window. Leave as default Yes.
Standard options:
- Permit Users to View this Content must be set to Yes for students to be able to see the weblink.
- Track Number of Views can be left as No.
- Select Date and Time Restrictions can be used to control the date and time which the web link is visible to students. To use these options, tick the checkbox next to Display After / Display Until boxes and enter an appropriate time
- Click Submit to create your web link.

