Using Visualisers for Remote Teaching
What is a Visualiser?
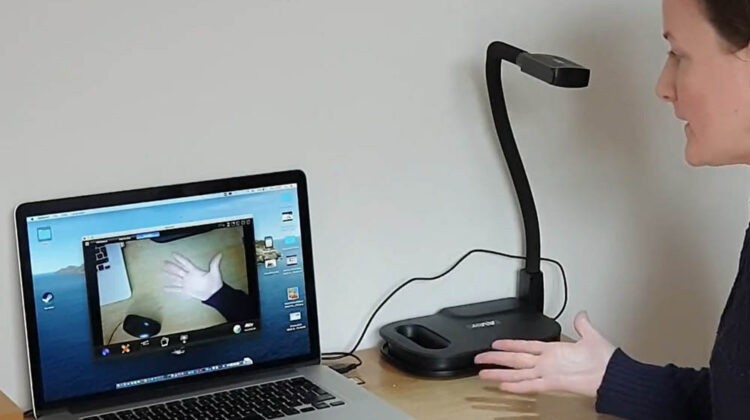
A visualiser also known as a document camera connects to your computer and allows you to display a real-time image or video on your computers screen of anything that is underneath the document camera.
How to use a Visualiser for online Teaching
Firstly, follow the installation instruction that came with your visualiser. Make sure that you have the appropriate software installed.
If you have never used a visualiser at home before it may be useful to watch this short demo:
Using a Visualiser and Webcam at the Same Time
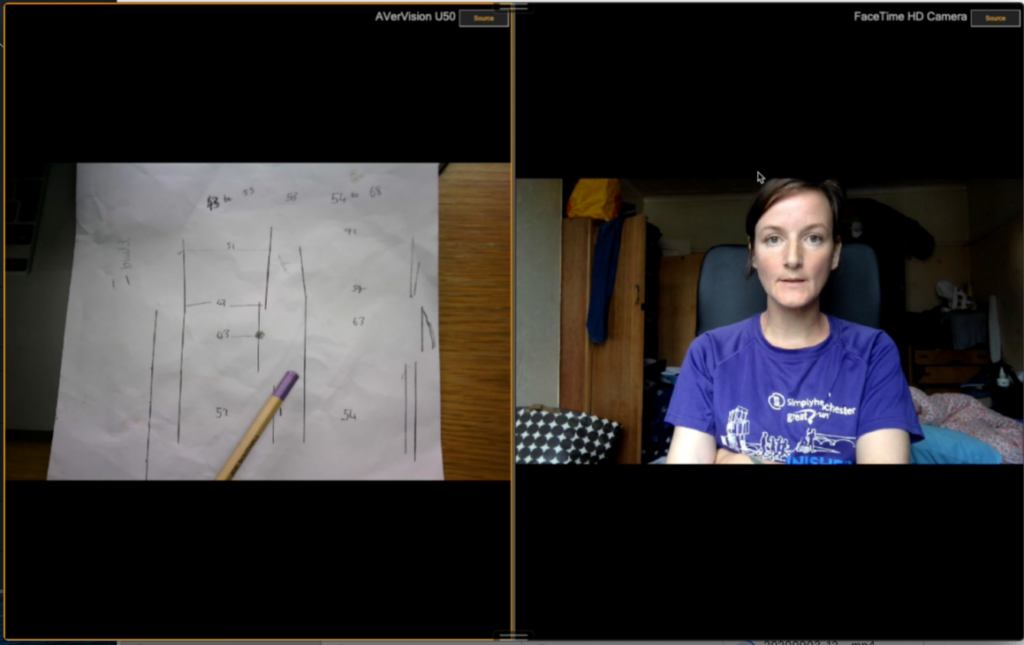

The Sphere 2 Visualiser software that comes with the Aver visualiser has a useful ‘side-by-side’ option that allows you to display your webcam or any image/document beside the visualiser camera.
You could then use a conferencing or webinar application to share your screen so that you can demonstrate and present at the same time.
Another way to do this to use a screencasting tool that allows you to record your screen and your webcam simultaneously.
Here is an example set-up using Sphere 2 (visualiser software) + Loom – you can see that the webcam floats on top of the visual from the video from the visualiser camera.